This section of my blog will discuss the editing process of my magazine
Editing Research
I have never really done much editing before and I am generally unfamiliar with the process and program I am using so I looked at this tutorial to learn how I can edit
After watching this video, I understood how to navigate the program and how I could use the tools to create my desired photos
Photo Development
Front Cover
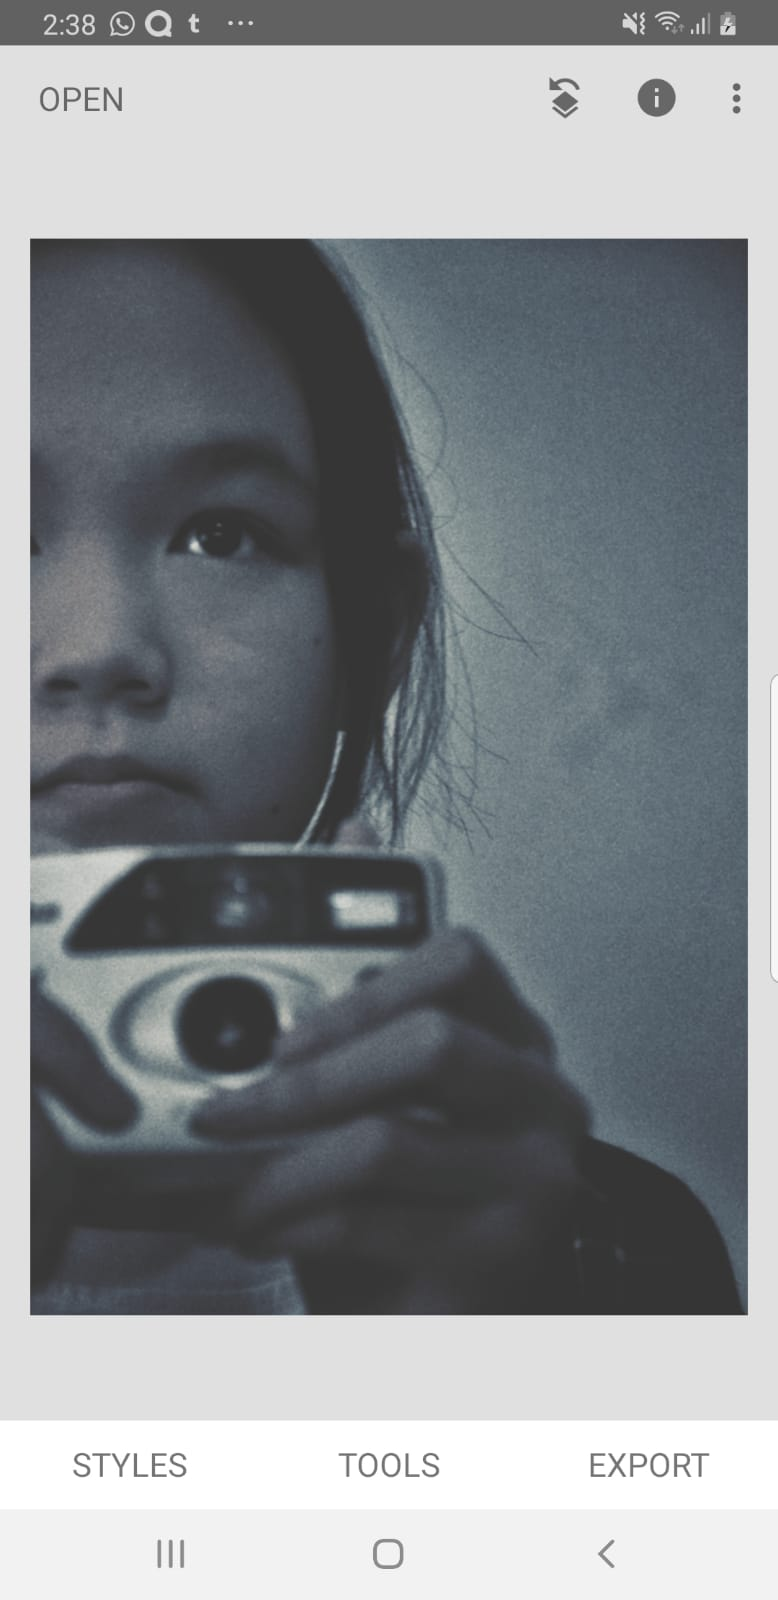
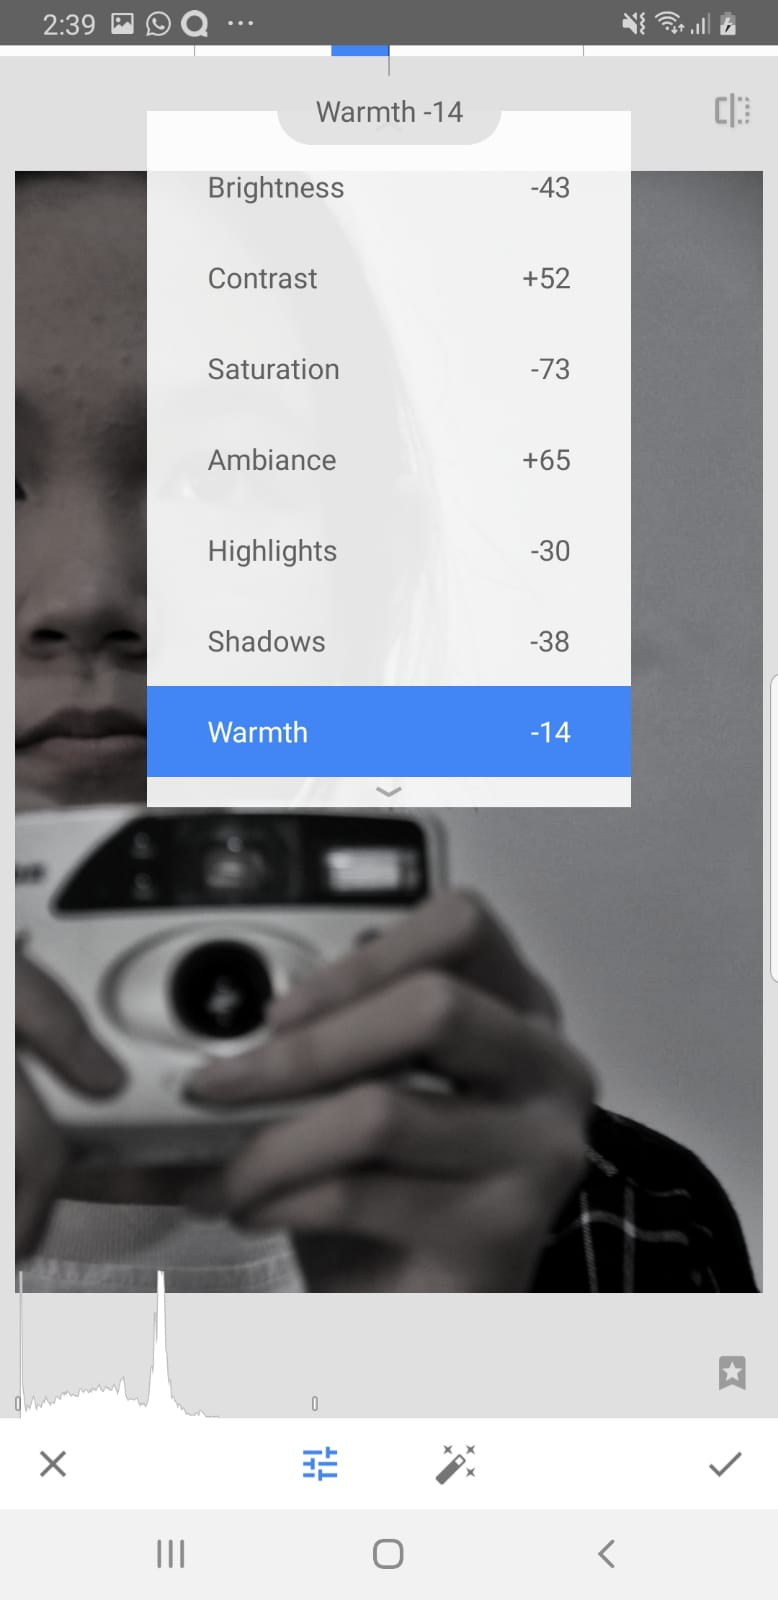
I started by simply making the image black and white using a filter. I wanted a black and white image as it made it appear more retro which is a convention of my genre according to my research as it connotes mystery. Black & white images also makes the image appear older which connotes history and links it with my main feature article
I then made the outer brightness darker to create a light vignette effect which adds to the retro style as this effect is most often seen in old films and photos
I added a grain effect which also further contributes to the retro style as grainy images resemble how old films and photos look like
I then switched to using Ibis Paint X as it had a lot of filters I felt I could use and I intended to use it for creating my front cover. I added the border as it was an aspect of my front cover and I wanted to see how the changes would looks against the colour and style I was going for in my front cover. I changed the brightness and contrast accordingly to what I felt complimented the style better
Lastly, I added a posterize effect which made it appear a bit more cartoon-like. This was added because illustrations were a convention of paranormal magazines. It also made it appear more lighthearted and less serious which helped with the diversion uses & gratification
Contents Page
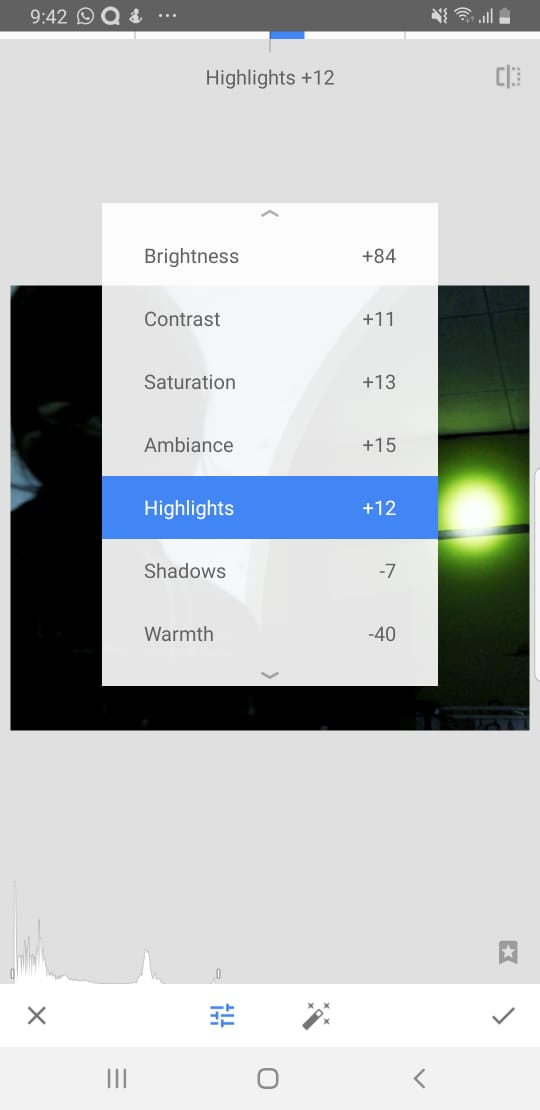
I started by tuning the image to make it pop out more. I made the image colder as blue tones connote mystery
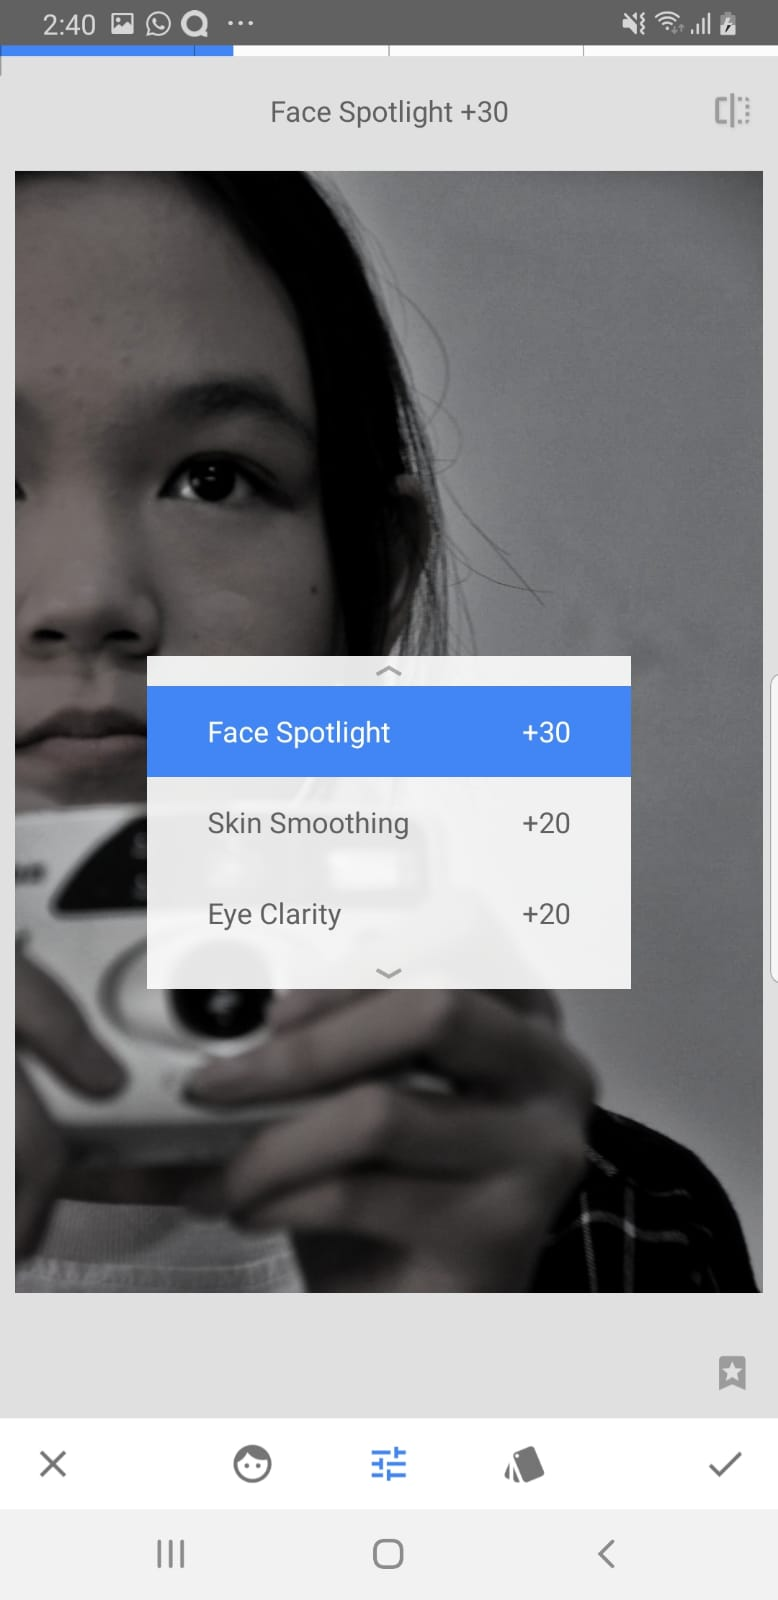
I also used the select tool to make certain aspects of the image brighter which helped balance it and make it appear more visible
Reflection:
- I'm not familiar with image editing so I often worry if my edits came off as 'too much' or weren't as effective as I thought they were but Snapseed's feature that allows you to directly compare the original and edited image helped me understand what has changed and whether my changes were helping or not
- I've gained a lot of editing skills through this. I now understand how certain effects in the editing may impact an image as a whole and how I can use it to create meaning


No comments:
Post a Comment